Create your repository
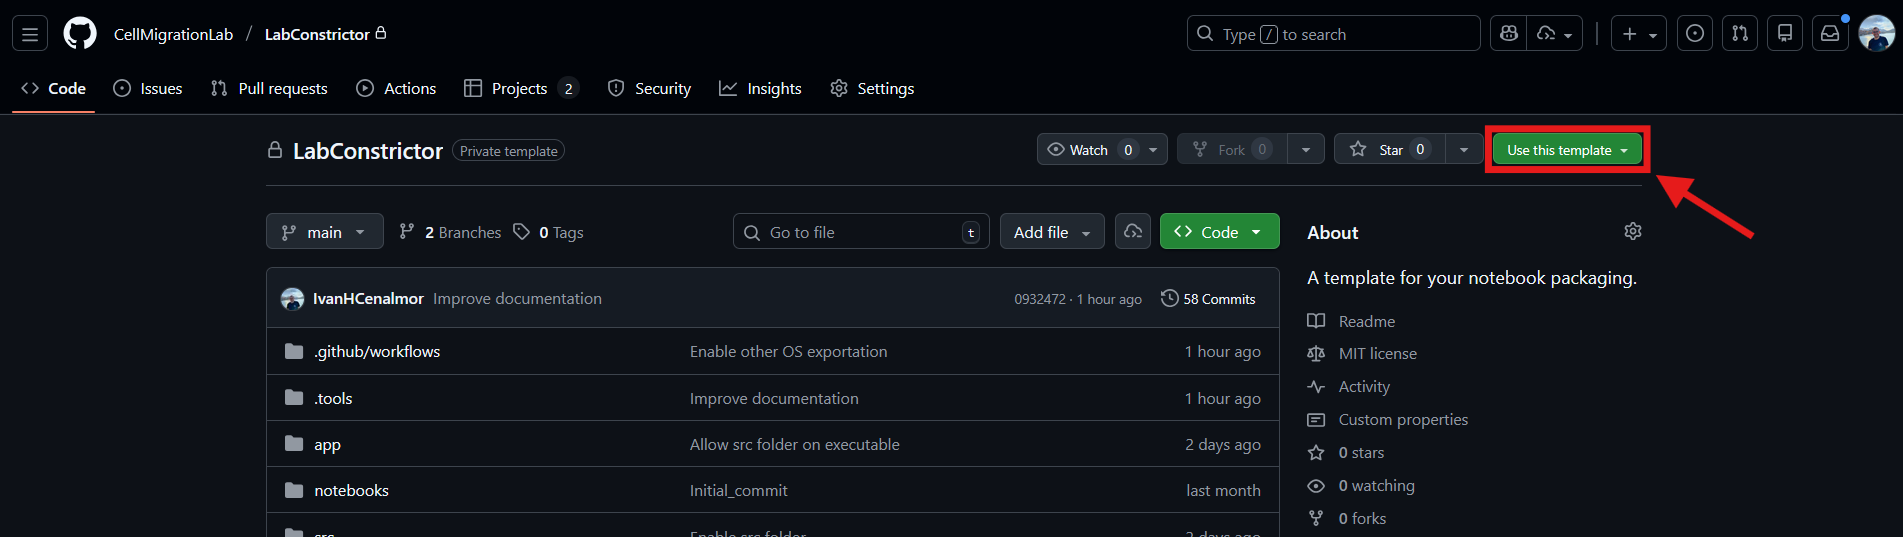
To start, open the LabConstrictor template on GitHub and click the Use this template button at the top of the page. This will let you create a new repository using the LabConstrictor template.
- Click the green Use this template button at the top right of the main repository page.
- Select Create a new repository.
- Next, you’ll need to fill in some details:
-
Include all branches: Please, let the default
Offoption. -
Owner: Pick either your personal account or your research group’s organization.
-
Repository Name: Pick a short, memorable name (for example,
MyLabTools).Note: This name will be used as the default name for your application installer.
-
Description (Optional): Write a brief description of what your notebooks do (for example, "Automated cell migration analysis").
-
Visibility:
- Public: Select this if you want to share your installer right away.
- Private: Select this if you’re still working on the tools or want to keep the code within your lab. A private repository cannot be listed in the App Centre: make it public before you submit your app.
- Click Create repository. 🎉 That’s it! Your repository is now set up and ready to go.
Template updates (optional, later)
We recommend setting up automatic template updates after your first release. Without the update token, the weekly Sync with Template Repository run stops with the error "Synchronization setup required" as soon as a newer template version exists, and your repository receives no update pull request. See Keep your app up to date.