Build an app
Turn your Jupyter notebooks into an app that anyone can install with a download. You write notebooks; LabConstrictor builds the installers.
The five steps
- 1
Build your notebook(s)
Develop and test your analysis in a Jupyter notebook that runs in JupyterLab and, ideally, in Colab. - 2
Create and initialise your repository
Start from the GitHub template and give your app its name and version with the LabConstrictor web form. - 3
Define your requirements
List the packages each notebook needs in its own requirements.yaml file. - 4
Add your notebook(s)
Upload each notebook and its requirements with the LabConstrictor web form; a workflow checks them. - 5
Create a release and share it
A release builds installers for Windows, macOS and Linux; share its link or list the app in the App Centre.
What your app gets
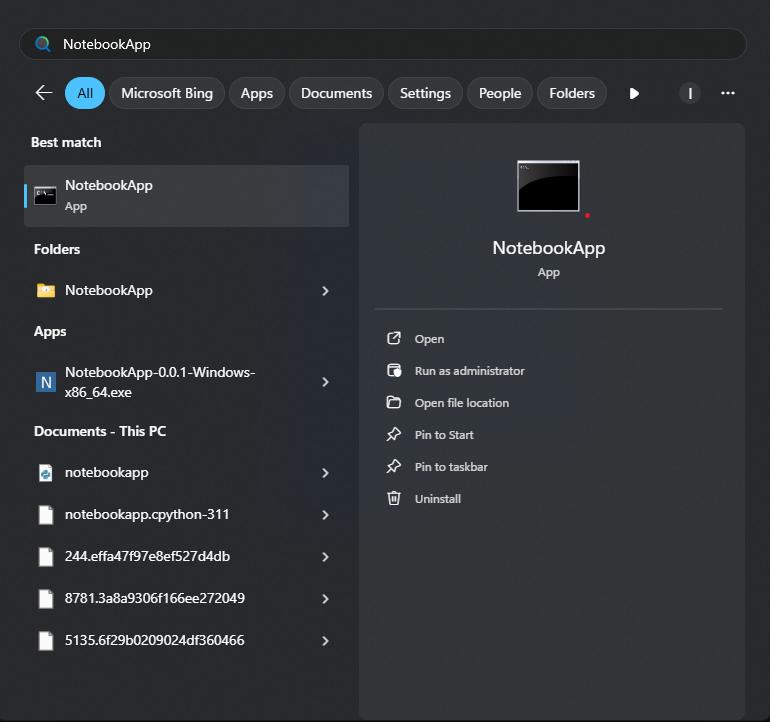
- Your users need only a downloadOne GitHub release builds installers for Windows, macOS and Linux. Your users have no Python or pip to set up.How users install
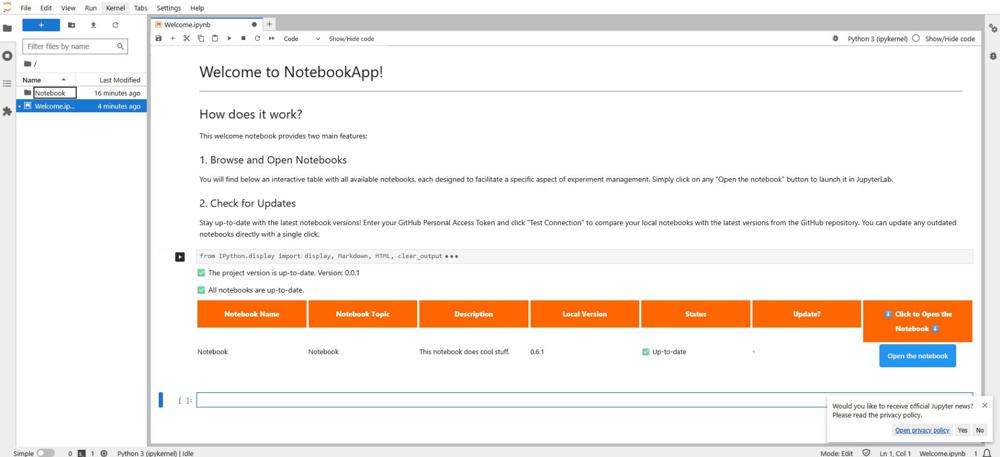
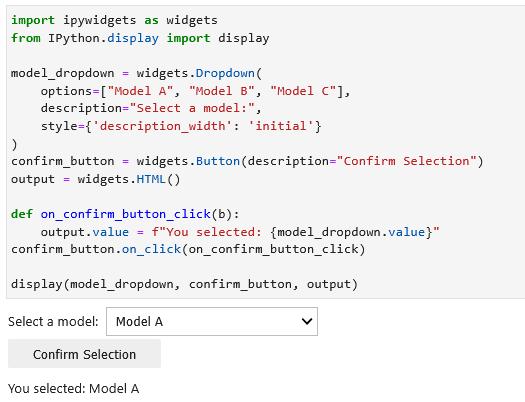
- It feels like an app, not a scriptIt opens in the browser with a Welcome notebook, and you can hide the code cells so users see only the interface.Hide code cells
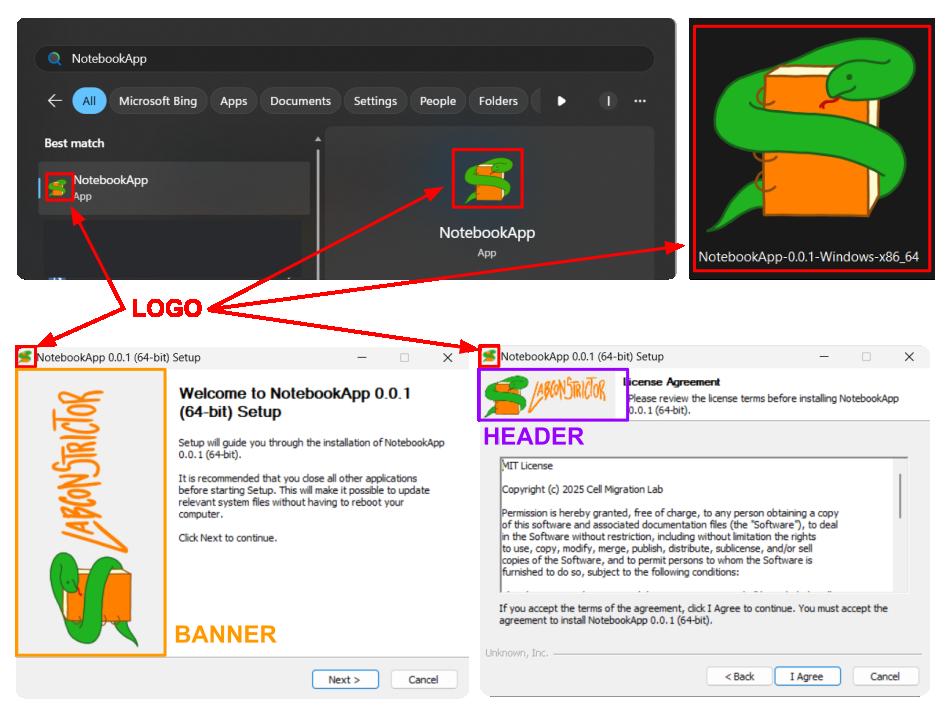
- It carries your logoPut your own logo, banner and header images in the installer and the desktop app.Customise the installer images
- Its notebooks can also run in ColabWrite them for both, and people can try them in the browser first.Notebooks for Colab and JupyterLab
- Others can find itList it in the App Centre, with a download for each system and a page of its own.Submit your app
- It can reach napari, Fiji and QuPath (experimental)An app's declared tools can run in those programs through experimental plugins; this needs a development version of the template.Use apps in your image software


Want to see how it works inside? A quick overview, one step at a time, from a notebook to an app that people can install. How LabConstrictor works